
Uploading a File using Selenium
Uploading a File using Selenium
There are some scenarios, wherein we might need to upload some of our files to the webpage. In such case, we have two versions through which we can upload our required file. But the way we can upload a file through automation is totally dependent on the application in which it is designed.
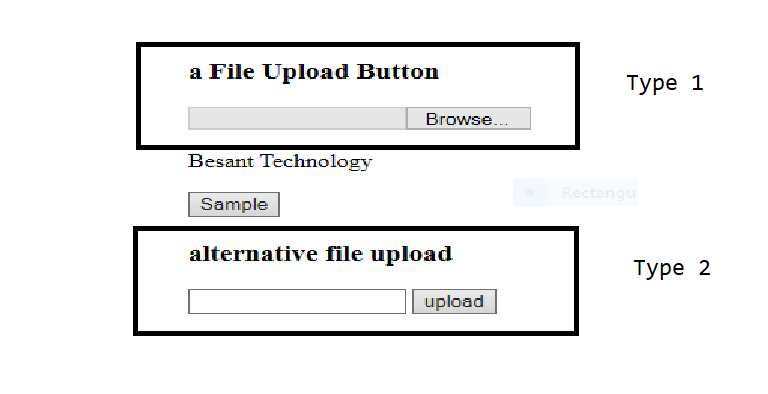
In the above image, we have two upload options, shown. The above page can be created using the below code.
<!DOCTYPE html>
<html>
<body>
<h3>a File Upload Button</h3>
<input type="file" id="myF">
<p>Besant Technology</p>
<button onclick="myFunction()">Sample</button>
<script>
function myFunction() {
  var x = document.getElementById("myF");
  x.disabled = true;
}
</script>
<h3>alternative file upload</h3>
<input type="text" id=”me”>
<button type="button">upload</button>
</body>
</html>
We all know that the Selenium web driver can only automate only Web applications. type 2 can be automated using Selenium WebDriver.
Steps to do :
WebElement ele=driver.findElement(By.id(“me”));
ele.sendKeys(“C:\Sample.txt”)
driver.findElement(By.xpath(\\button[@type=”button”]).click();
The above steps/code can be used to automate the upload scenario easily.
But what if there is a scenario, when I click on (Type 1) “Browse” button would pop a system dialog box to select the file and then upload it. Do you think? This can be automated using Selenium WebDriver.
The answer is no, but it is possible when I use the Selenium web driver along with Auto IT.
What is Auto IT?
Auto IT is a Third Party Application which can be downloaded and used at free of cost, and then can be used along with selenium web driver for performing system-related keyboard operation, Window manipulations.
Step 1:
Auto IT can be downloaded by using the below URL, https://www.autoitscript.com/site/autoit/downloads/ and you have to click on the AutoIT download button, which is more self downloadable

Step 2:
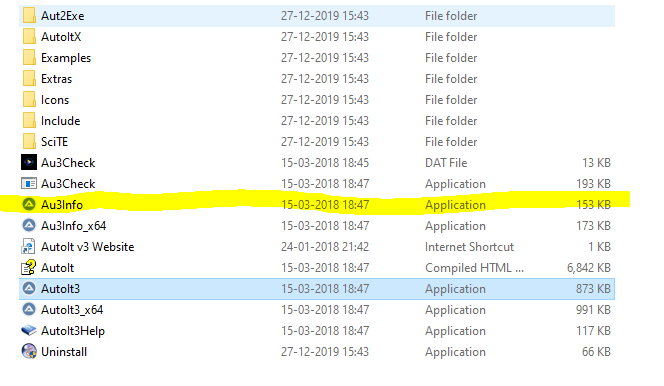
Once downloaded, You can start to use the Application to automate the process. Click the below highlighted,

Step 3:
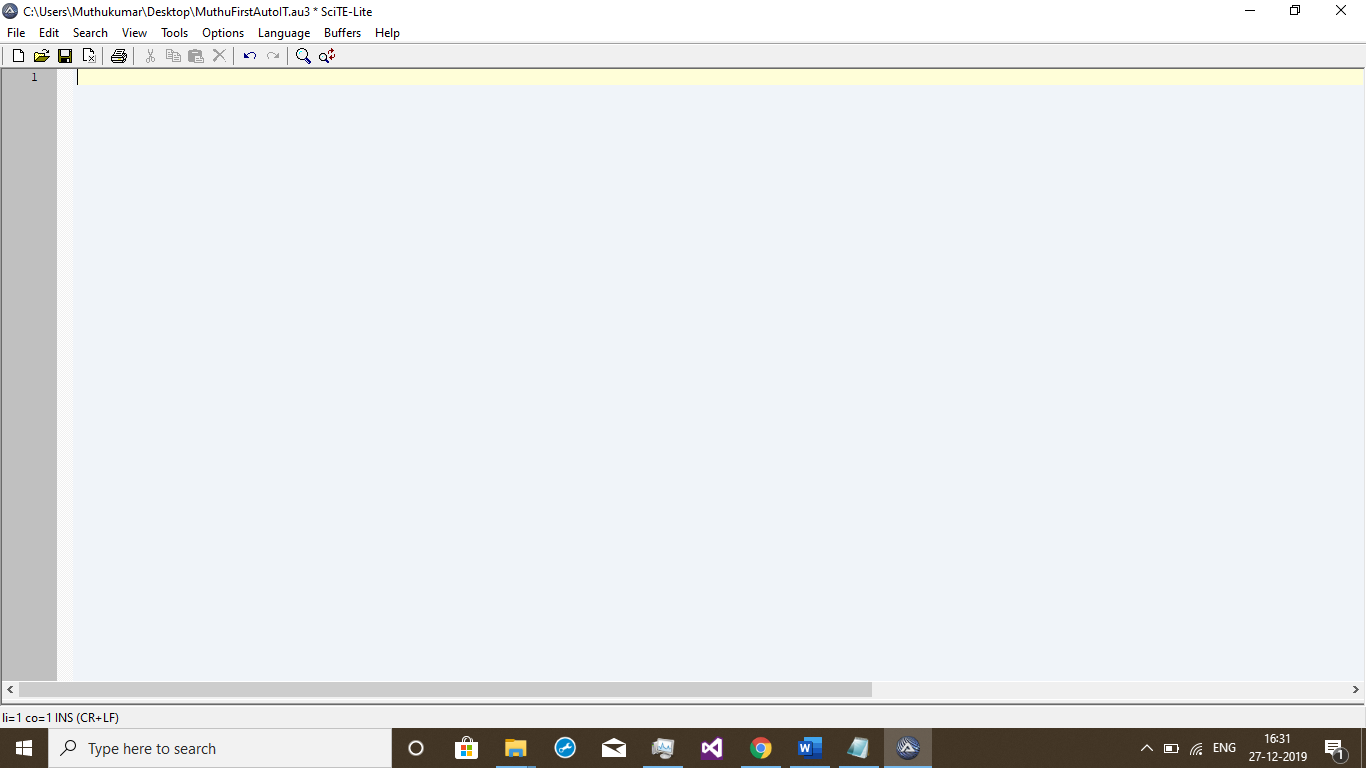
This would open an Editor like the below,
Step 4:
Then click on the below
Step 5:
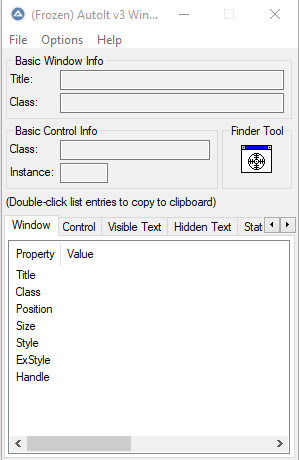
Which would popup, the below tool
Step 6:
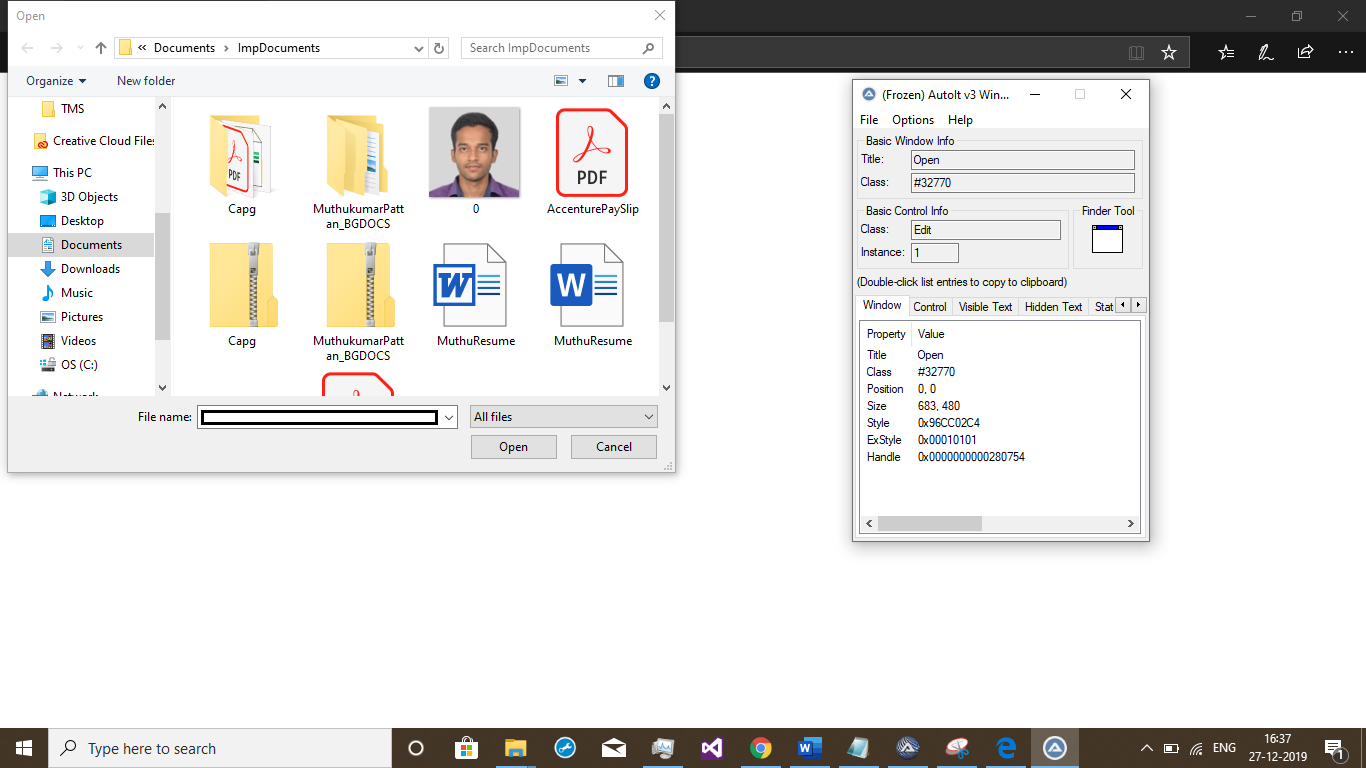
Use the above-highlighted Finder Tool. This icon can be clicked and dragged to the element on which we need to spy,
Step 7:
Then we can use the Title property along with Class and Instance property to identify the “filename” text box. Something like the below,
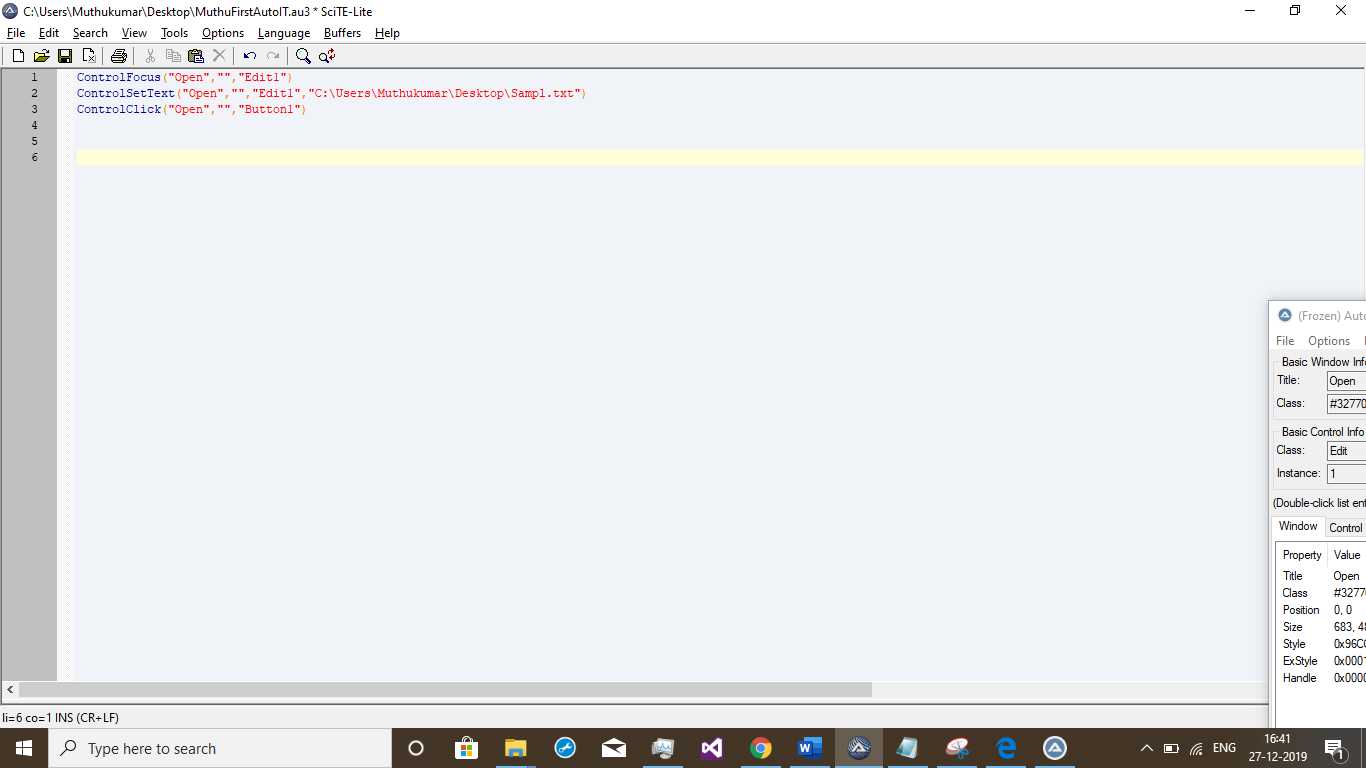
ControlFocus("Open","","Edit1")
Argument values for ControlFocus method:
This will set the focus to the ‘filename’ text box of the file uploader window. 1st argument title is ” Open “. We can ignore the 2nd parameter, as the text is not required here. 3rd argument control is the combination of
class='Edit' and Instance='1' i.e., . 'Edit1.'
Like wise ,
ControlFocus("Open","","Edit1")
ControlSetText("Open","","Edit1","C:\Users\Muthukumar\Desktop\Sampl.txt")
ControlClick("Open","","Button1")
Above code can be written and saved in .au3 format
Once saved, the above script file has to be compiled which would be converted to .exe file. As shown in the below image Shift + Right Click on .au3 file which you need to compile and select the Compile Script(x64) option in the context menu which would convert the file to .exe file.
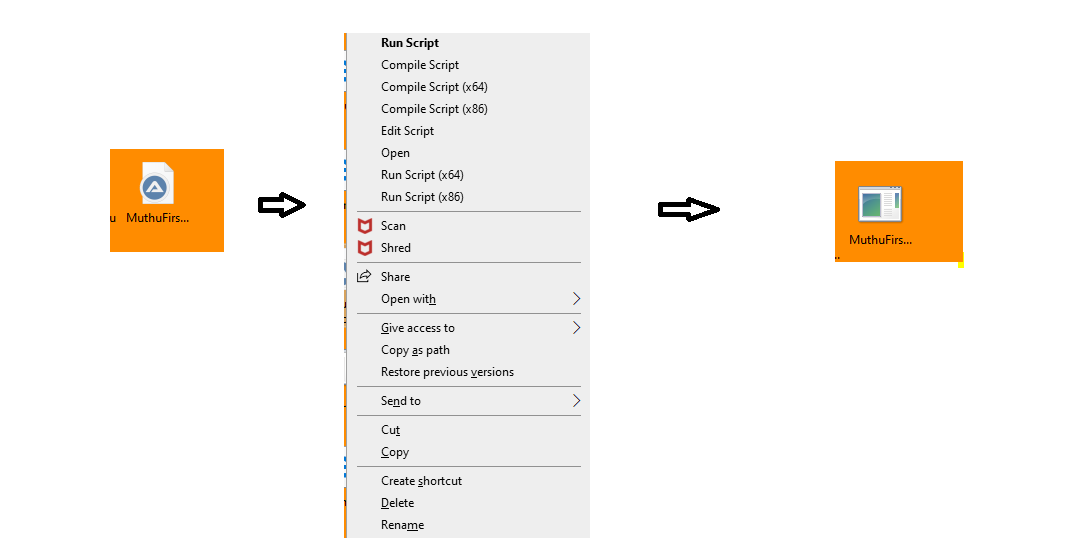
Now the .exe file which we have converted can be used in our script to upload a file using a single line.
Runtime.getRuntime().exec("-----------");
These are the steps we can follow to upload a file on a webpage.
Related Blogs
- What is Selenium?
- Selenium Career Opportunities
- RPA Vs Selenium
- Importance of Selenium with Software Testing
- Why Selenium is So Famous Recent Days?
- Locators in Selenium
- How to Take Screenshot in Selenium WebDriver
- Create a Selenium Maven Project with Eclipse
- Robot Class in Selenium WebDriver

