AWS – Relational Database Service
Amazon RDS, derived as Relational Database Service is a wholly managed SQL database cloud service that enables the user to create as well as operate relational databases. With the help of RDS, accessing the database and files anywhere is more accessible, scalable, and affordable. In this tutorial, we will learn thoroughly about the AWS relational database service.
What are the features available in the Amazon Relational Database Service?
Proceed below to check out the Amazon Relational Database Service features in detail.
- Host replacement: There is a chance for this situation to occur sometimes when there is a failure in the Amazon RDS hardware. But you can easily replace this automatically by Amazon and therefore no need for worrying about the failure.
- Secure: Amazon Relational Database Service offers full control over the network, and therefore accessing the database and relevant services are not possible easily. An only a limited person who has access can check out the database and their associated services.
- Software Patching: It gets the present industry patches automatically for the database software. There are also options for specifying when there should be a software patch with the help of DB Engine Version Management.
- Adaptable: Amazon Relation Database Services enables to scale the relational database with the help of the RDS specific API or with the AWS management console. There are also options for increasing and decreasing the requirements in RDS within minutes.
- Affordable: Paying for the consumed resources is enough in the case of Amazon Relation Database Services. There are no long term commitments or up-front charges and, therefore, one of the cost-effective services.
- Automatic backups: Amazon RDS helps to backup all single data in the database that includes the last five minutes transaction logs. Apart from that, managing those automatic backup timings is also made more accessible.
Setting up Amazon RDS:
Proceed below to find the steps through which setting up Amazon Relational Database Service is made more accessible.
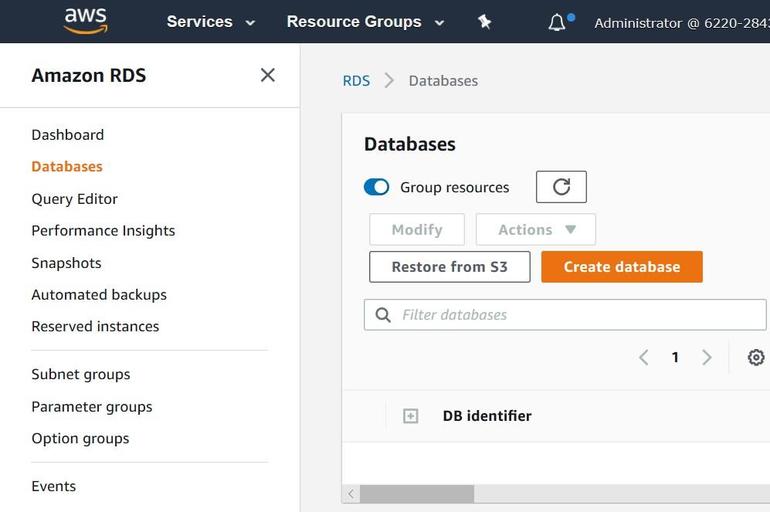
- You can log in to the AWS management console by clicking on https://console.aws.amazon.com/rds/.
- You can find a database instance created on the Amazon RDS Console top right corner. Select a particular region.
- In the navigation pane, you can select the instances and then go for Launch DB Instance button
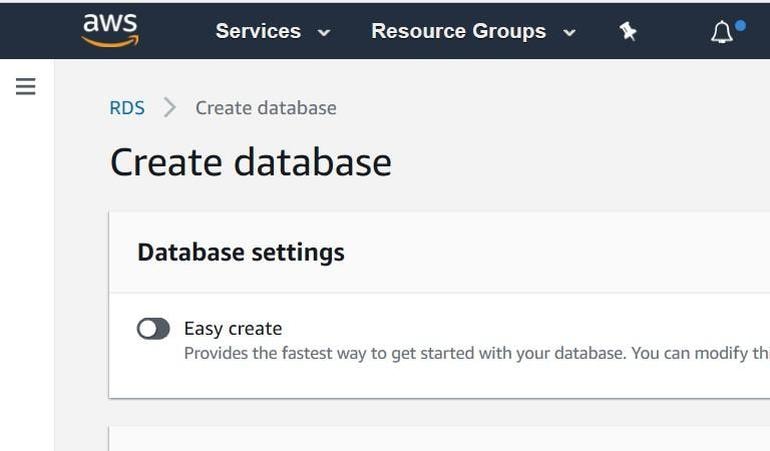
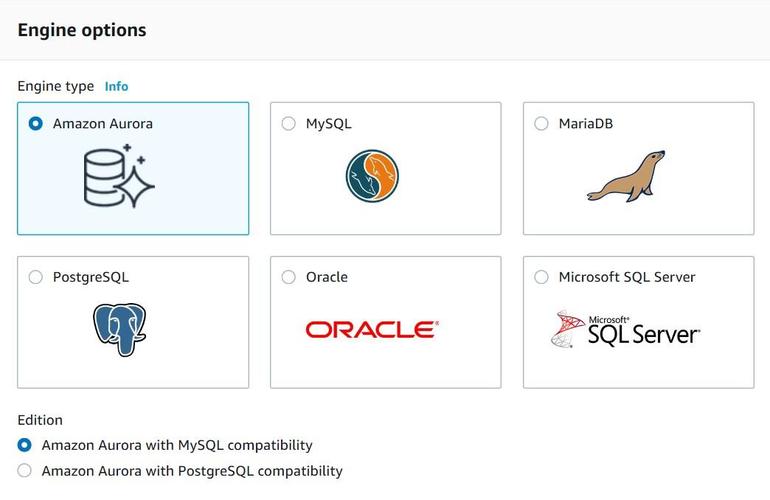
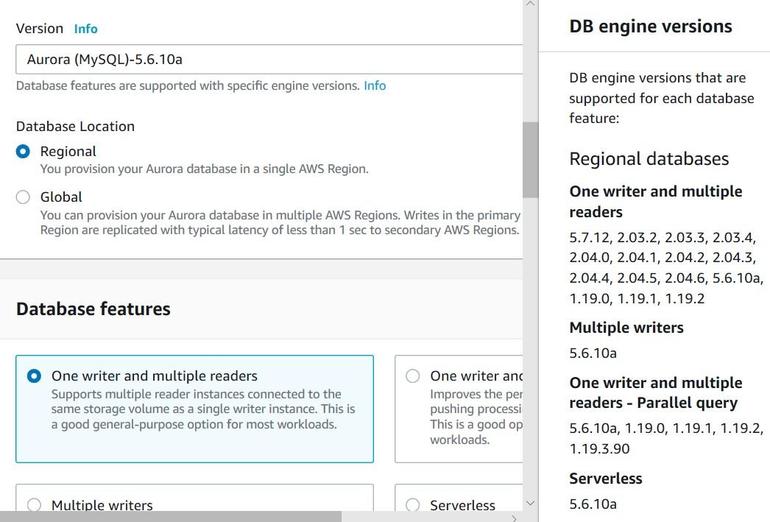
- Once you click on the button, the Launch DB Instance Wizard opens. Choose which instance type you need to launch and select the appropriate button.
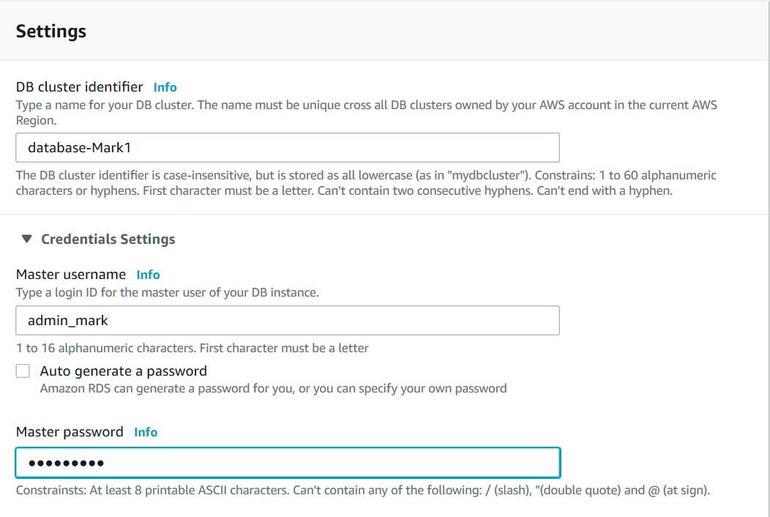
- Now you can find the Specify DB details page. Here you can provide your needed details and then click on Continue.
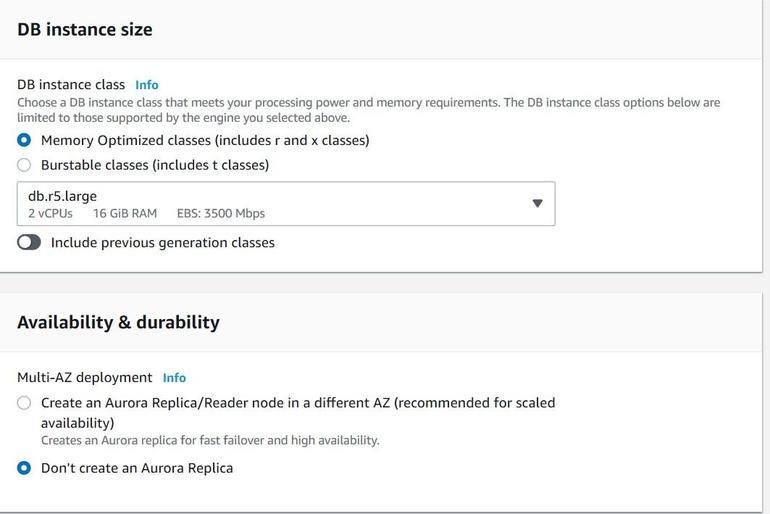
- You will find an Additional configuration page. Here, provide all the needed information to launch the MySQL DB instance and then go for the continue button.
- You will now find an On the management options page, where you can choose your choice and then go for the continue button.
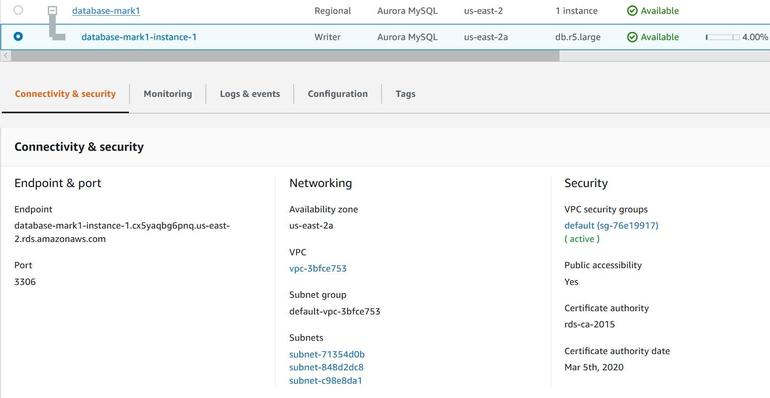
- Verify the details on the review page and click on the Launch DB Instance button.
Connecting database to MySQL DB Instance:
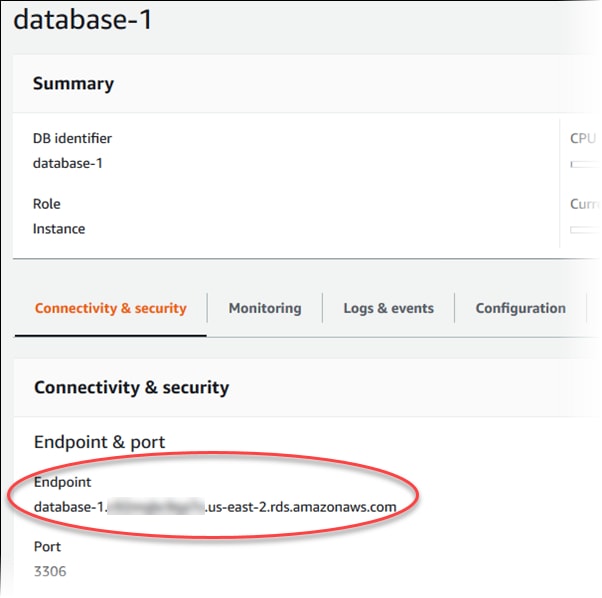
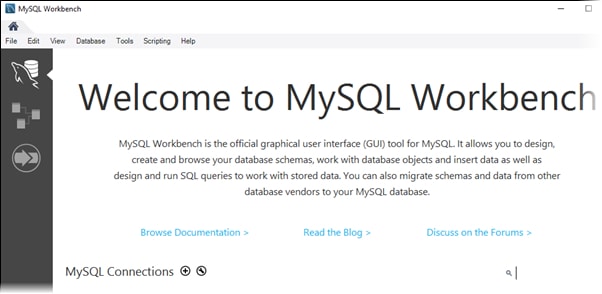
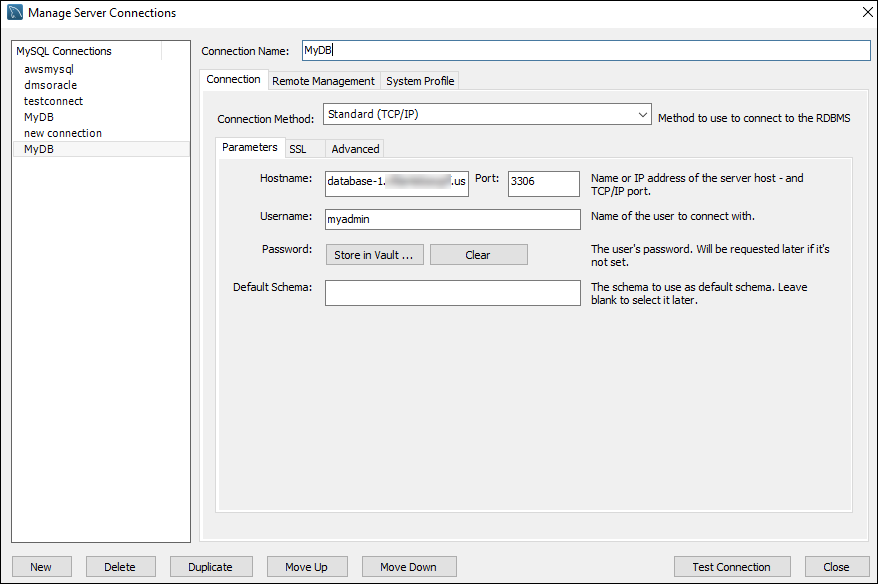
Once you set up the Amazon Relational Database Service, now you need to connect the database to MySQL DB Instance. Let’s check how to connect them below.
- With the help of MYSQL Monitor, type ‘PROMPT> mysql -h <myDBI> -P 3306 -u <myusername> -p’ in the client computer command prompt to connect a database on MySQL DB Instance.
- Provide the DB instance DNS name for <myDBI>, your master user name for <myusername>, and your master password for <mypassword>.
When the above command is run, you will get the output as
Welcome to the MySQL monitor. Commands end with, or \g.
Your MySQL connection id is 350
Server version: 5.2.33-log MySQL Community Server (GPL)
Type 'help;' or '\h' for help. Type '\c' to clear the buffer. mysql>
Deleting a BD Instance:
Once you have connected the database to MySQL DB Instance, you should delete those DB instances. Here are the steps to delete it.
- Make use of the https://console.aws.amazon.com/rds/ to log in to the AWS management console.
- Choose the DB instance that needs to be deleted in the DB Instance list.
- Choose the delete option from the dropdown menu of the Instance Action Button.
- In the Create final snapshot, choose NO.
- To delete the DB Instance, click on the Yes in Delete to.
Amazon RDS Cost:
You need to pay only for using the Amazon RDS, and there are charges applicable for set up or minimum charges. Billing is calculated based on the following aspects of Amazon RDS.
- Running Time: The price is intended by the instance hour. The price is for single instances running in an hour.
- I/O requests per month: The pricing is calculated by the total number of I/O requests used.
- Instance class: The pricing structure is intended on the class of the consumed DB Instances.
- Storage: The bill is also intended as per the storage capacity plan selected in terms of GB.
I hope the above tutorial helped you to know about the AWS Relational Database Service in detail. Any queries on Amazon RDS? Ask us in the comment section below.
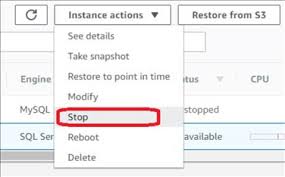
You can delete a DB instance using the AWS Management Console, the AWS CLI, or the RDS API.
Console
To delete a DB instance
- Sign in to the AWS Management Console and open the Amazon RDS console at https://console.amazonaws.cn/rds/.
- In the navigation pane, choose Databases, and then choose the DB instance that you want to delete.
- For Actions, choose Delete.
- Enter delete mein the box.
- Choose Delete.
Related Blogs
- What is AWS Certification
- What is AWS?
- What is AWS Lambd?
- AWS Vs Openstack
- AWS Management Console
- What’s the Value of an AWS Certification?
- AWS EC2 Instances

