How to Install Jenkins on Windows
Installing Jenkins over Windows
In this article, we will discuss how we can install Jenkins on the Windows platform. Here we will talk in steps.
Step 1: First, we have to visit jenkins.io as shown in the figure below:
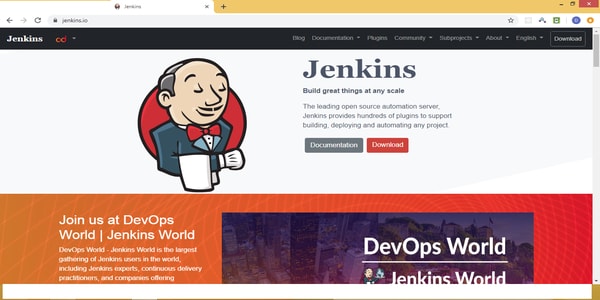
Step 2: We have to click the download button for available download options.

Step 3: We will get a download page as shown above where we have windows option and also generic package (war) option. We can install Jenkins on Windows by both of these options.
Step 4: After download any of the two we get the following acknowledgment page.

Step 5: Checking Java prerequisite: Before installing Jenkins we have to check Java installation in our system.
Step 6: Check and install suitable Java version on your system(java 8 latest version) and set environ variable as shown below:

Step 7: Also append Java path in the path variable there with Java path up to bin subfolder.
Step 8: Reboot your system after setting environment variables
Step 9: When the system comes up again then check the Java version in your command prompt with the command java – version like this:

step 10: Installing Jenkins with generic package (war) option:
- Download war file
- Create a folder on the root directory(for simplicity) in any for your drive which is having ample free space(above 10 GB is comfortable).
- Copy Jenkins.war file into this folder.
Step 11: Now open command prompt at this location(for example E:\Jenkins) and issue command java –jar war as shown below:

Step 12: Jenkins will start installing inside that folder and finally we will get the following screen in the command prompt:

- When we see the above message we can say that Jenkins service with generic war option is now installed and we can go for the browser-based installation part.
- Before going further for this part we must understand that the coming part is common for both alternatives of installations in Windows, therefore we must discuss the second installation option.
Step 13: Installing Jenkins with MSI installer option
Download zip file by clicking windows option in the download page, then uncompress zip file where you will get Jenkins.msi file as shown below:

Step 14: Run the above MSI file which will start installing Jenkins as windows service as shown below:

After this installation is finished Jenkins will be available as windows service.
Step 15: Installation of a common part after any of the two options of installation done up till now:
Now by any of the two above installation we have Jenkins service available and running and our next task is two open a browser window and type localhost:8080 and we will get the following screen:

Step 16: This is a security step as we have the option to start this service through web from anywhere and to avoid security breach we have to supply a number to the above textbox, this number is available at user/username/, Jenkins/secret folder in a password file, open that file and copy the number and paste it in the above textbox as shown below:

Step 17: After pressing the confirm button we can proceed for the remaining installation
First, we have to create an admin account as shown

Step 18: After admin configuration, we have to configure the necessary plugins for which we will get the following screen and we can choose either of the two options

Step 19: After choosing any one of the above options the plugins will start installing as shown:

Step 20: After plugins installation is over (we can add or remove plugins any time) we will get the following screens and we are ready to work on Jenkins in Windows.